Skip to content
The Joy of Papercrafting
Search
Home
Take me back to the home page
About
Shop Online
view Catalogues
PAPER PUMPKIN
Subscribe
What are Stampin’ Rewards?
Learn about how shopping earns you Stampin’ Rewards
Contact
Category:
Get creative
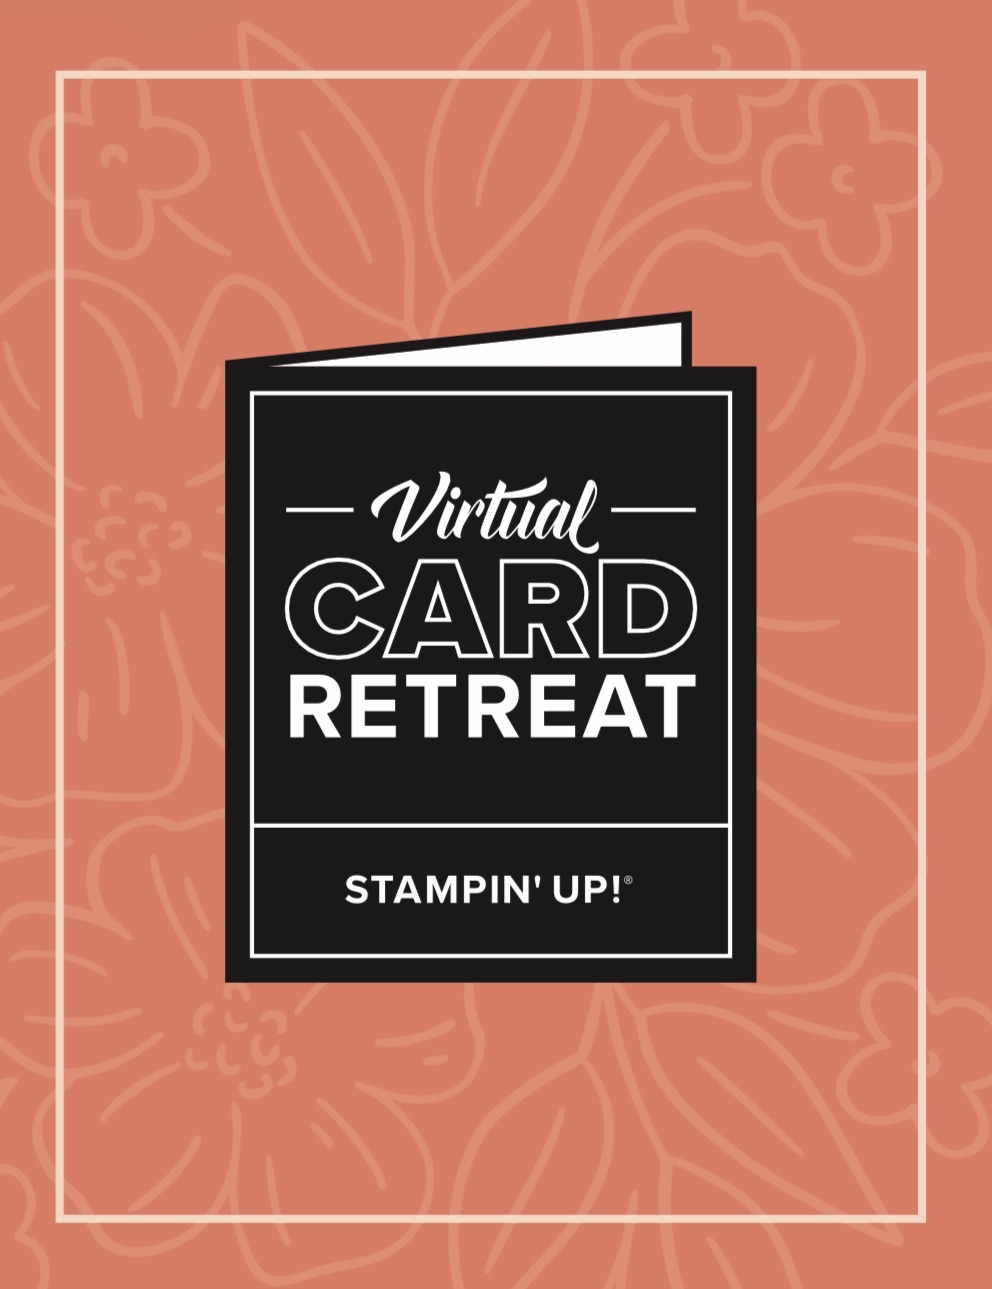
Product spotlight- 2026 virtual card retreat
Happy New Year
Look! The new Stampin’ Up! scrapbook supplement!
Hello MOJO my old friend…
Next Page
Subscribe
Subscribed
The Joy of Papercrafting
Sign me up
Already have a WordPress.com account?
Log in now.
The Joy of Papercrafting
Subscribe
Subscribed
Sign up
Log in
Report this content
View site in Reader
Manage subscriptions
Collapse this bar